Given the rising COVID-19 case numbers, we opted not to do a lot of the normal winter activities that fill our days—skiing (downhill and cross-country), snowshoeing, and ice skating. However, we still wanted to be able to take advantage of outside time as much as possible this winter. We have some hills on our property and are able to sled, but the river never freezes solid enough to ice skate, so Kelsey had the brilliant idea to build a backyard ice rink.
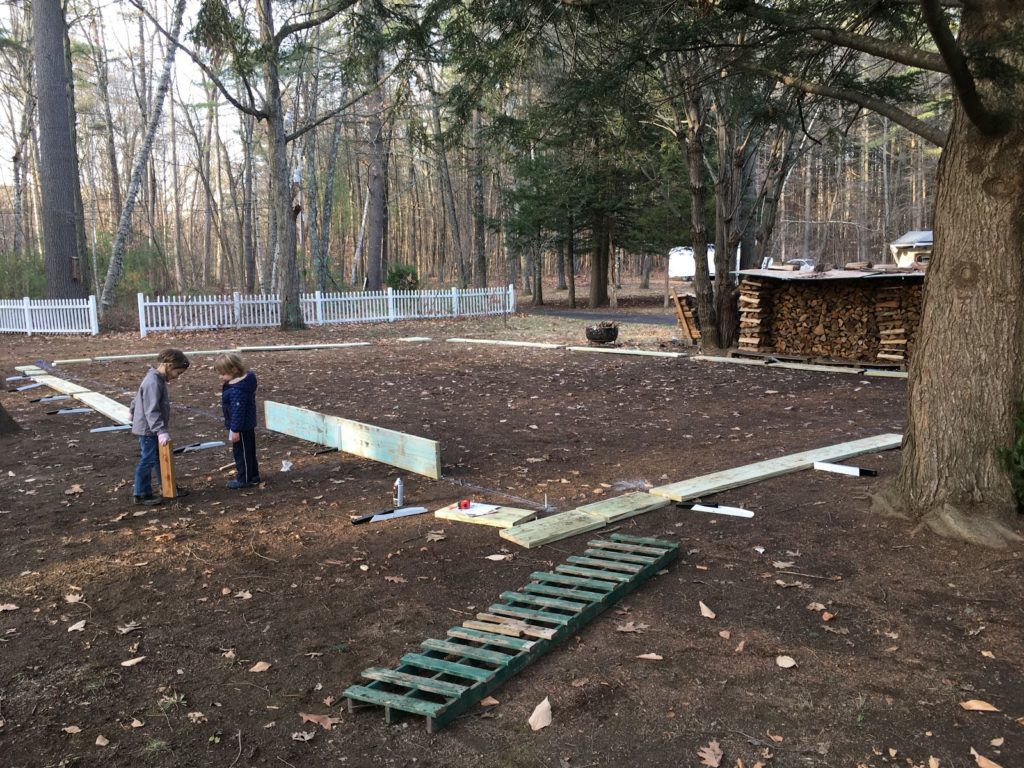
1. Measure and Lay Out Materials
First, you have to measure the space for the rink and set up guide lines and lay out your lumber to be staked down.
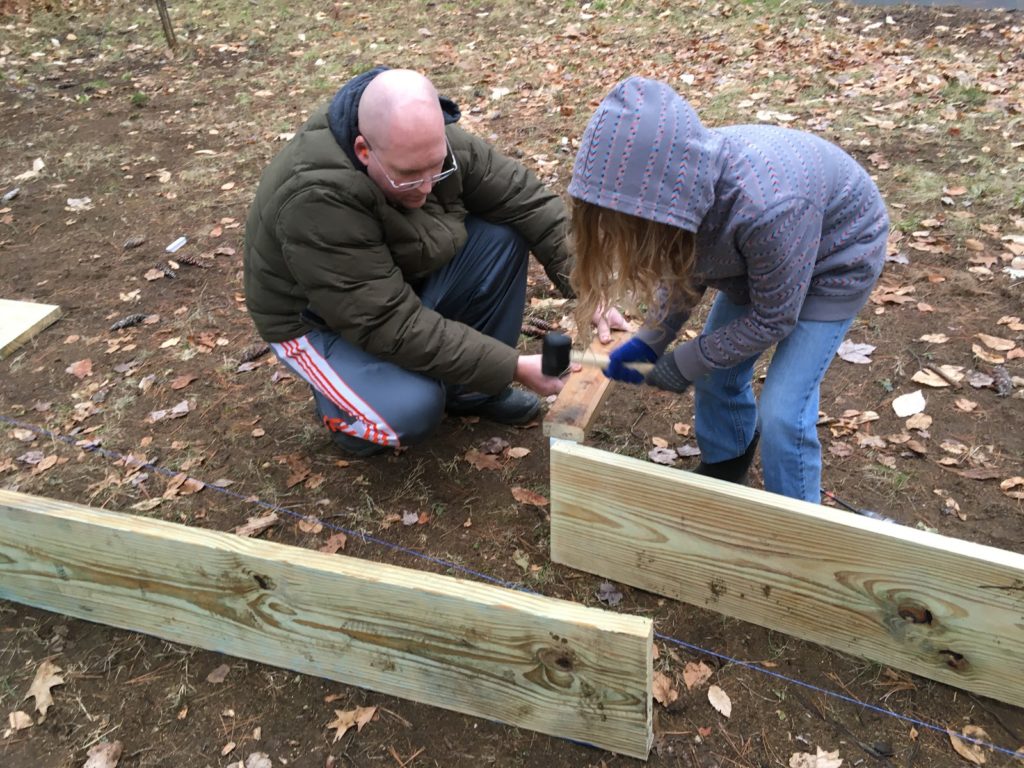
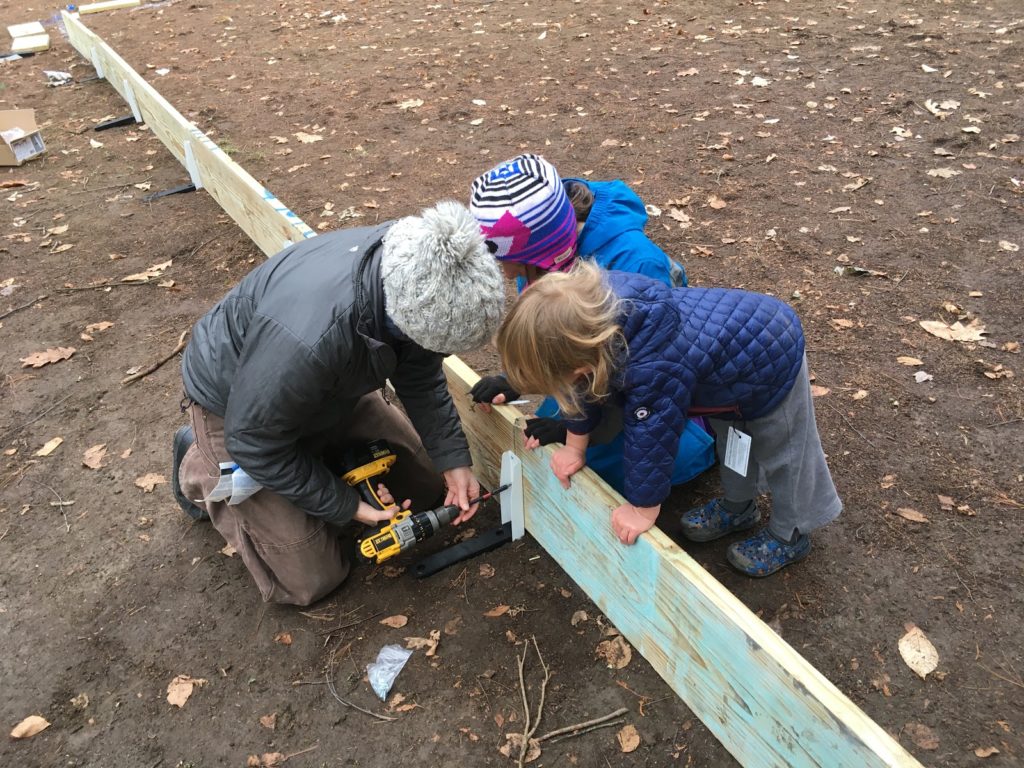
2. Pound In Supports and Attach Boards
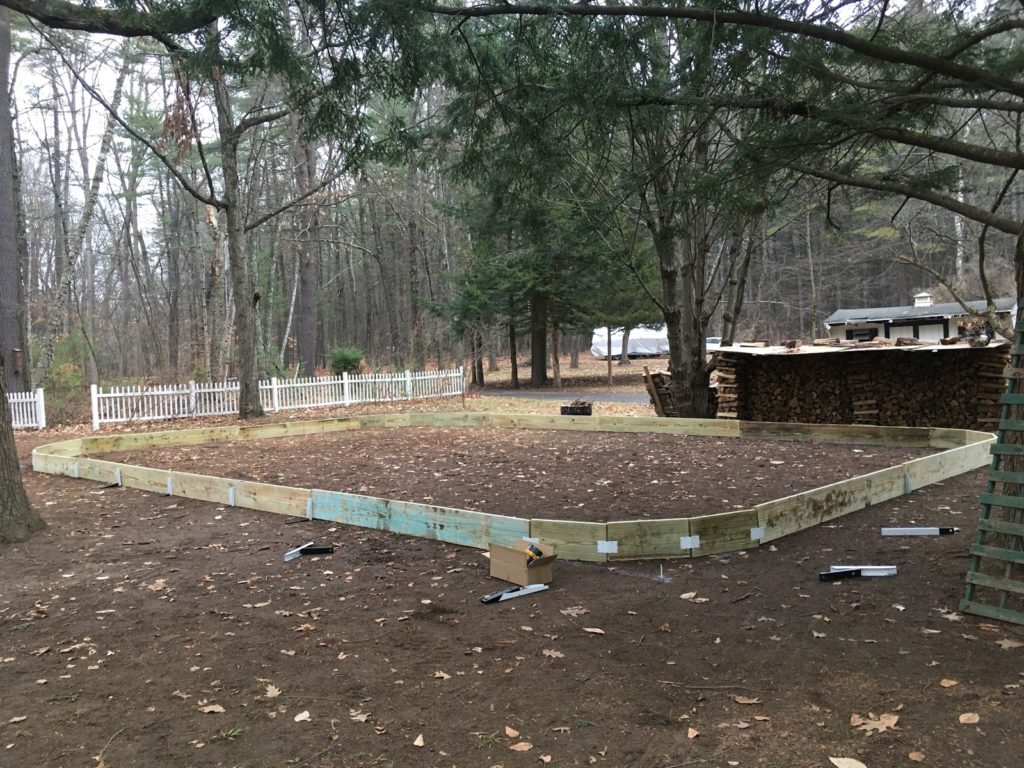
Next, you need to hammer in the support stakes until the midpoint is flush with the ground.Finally, screw in the support stakes to the rink wall lumber to hold it in place.Once all of the supports are installed, the rink is fully framed, and its time to install the liner.
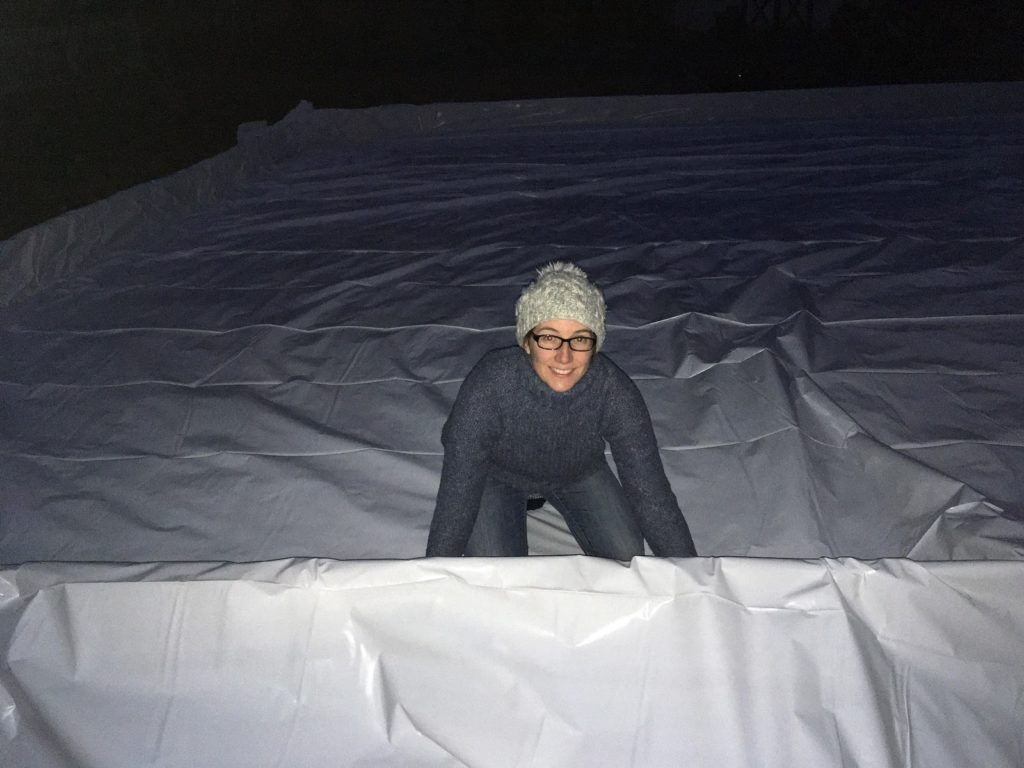
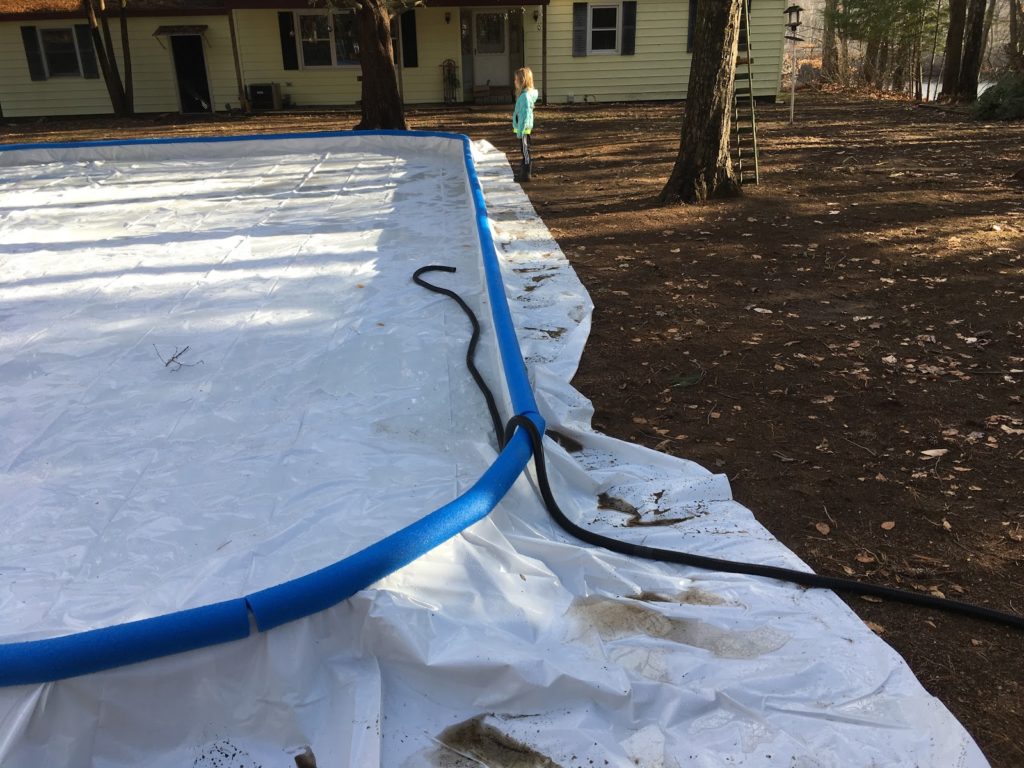
3. Install the Liner
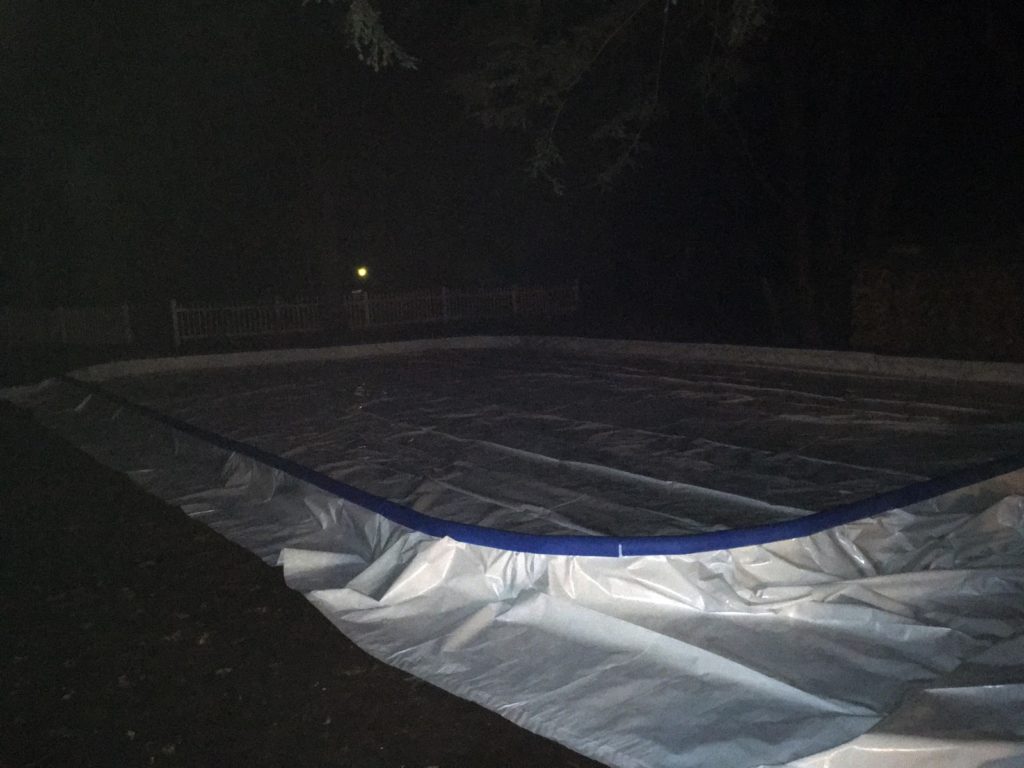
The liner needs to be installed semi-loosely inside of the frame so the water stays contained inside of the rink and does not rip the liner as it expands when it freezes.We finished the rink pretty late in the evening. Once the liner is installed, we needed to add the edge protector, which is essentially made of special pool noodles that are slit down one edge.
4. Fill It
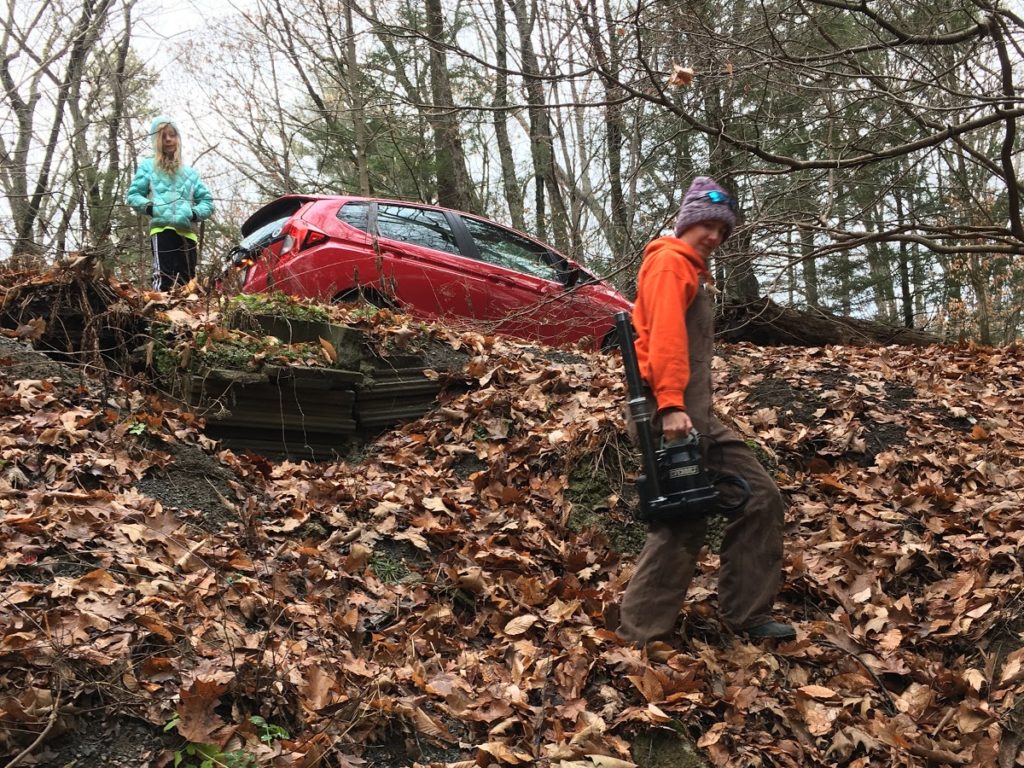
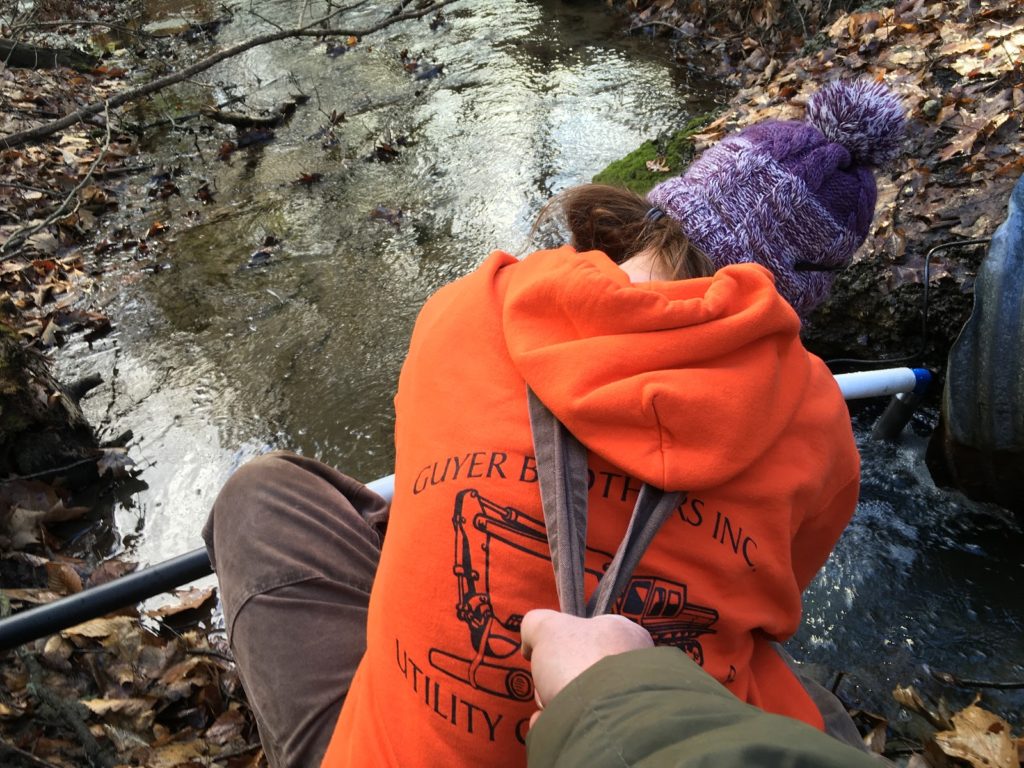
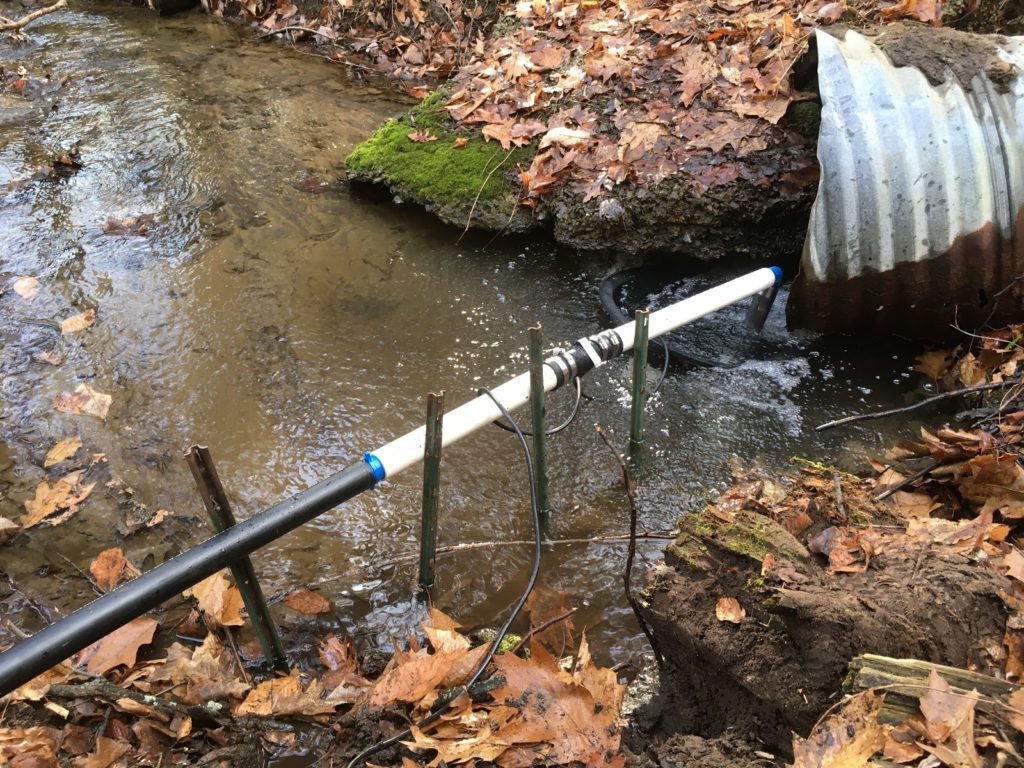
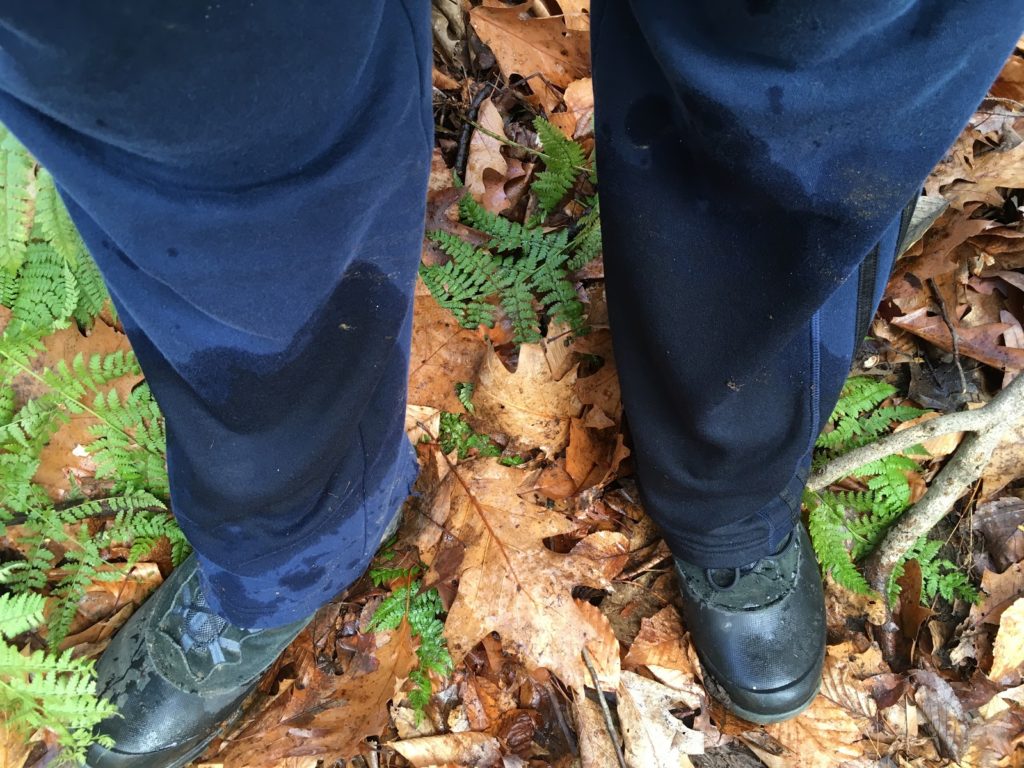
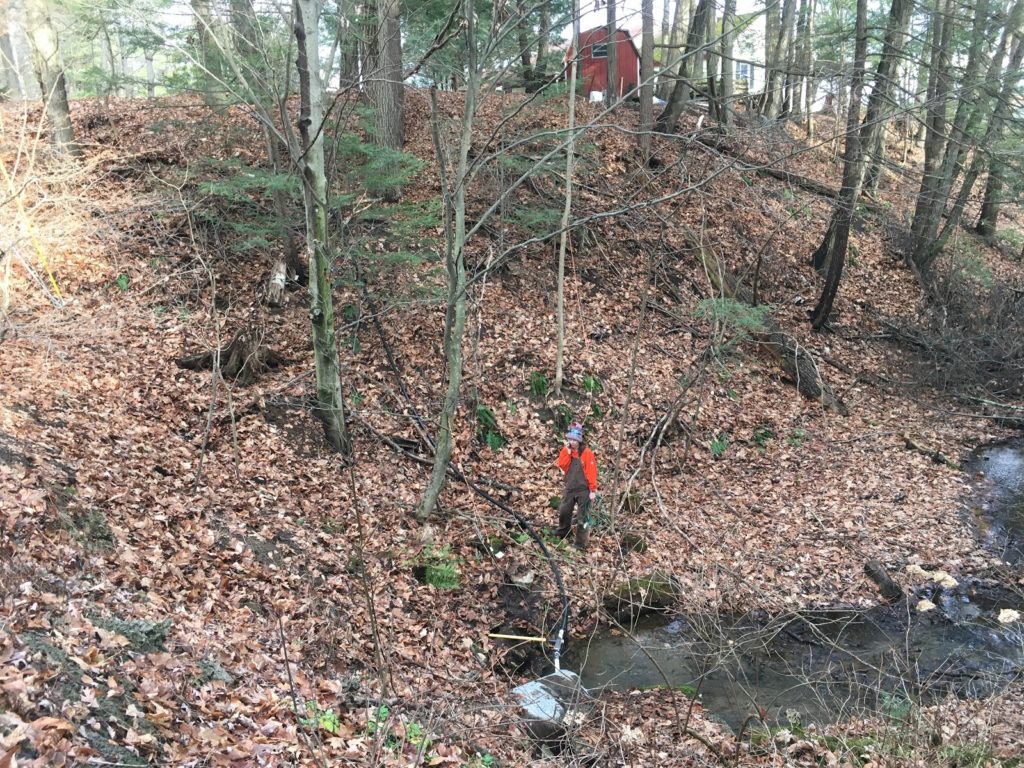
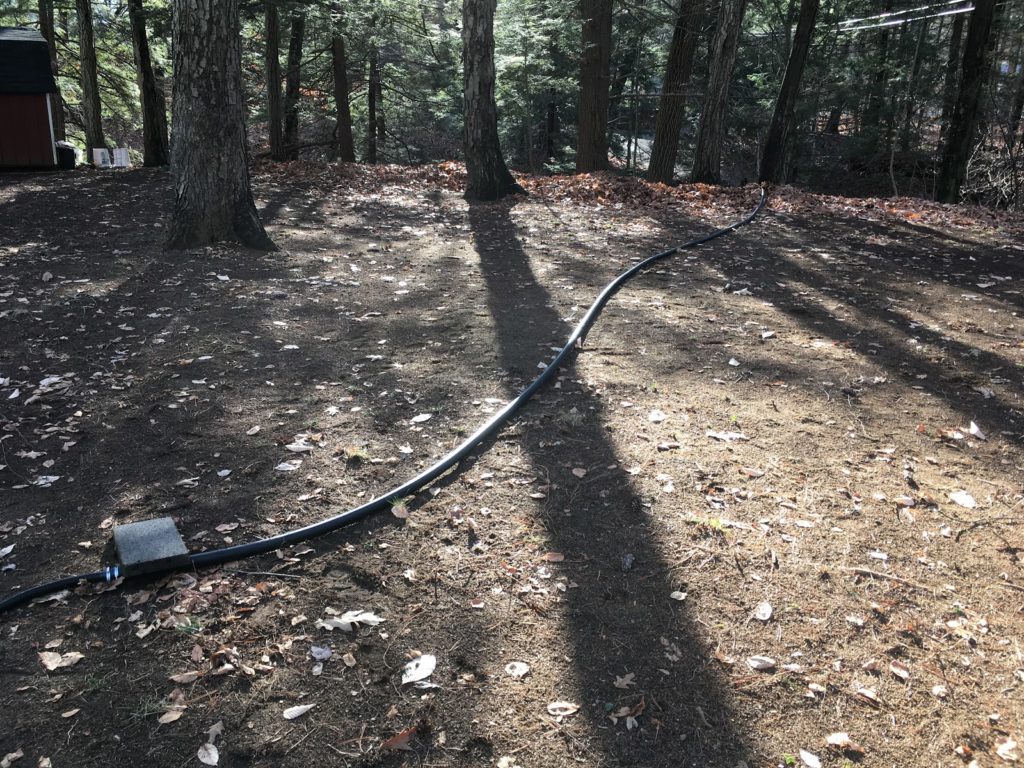
To get the water in the rink, we sunk a sump pump in the stream under the culvert pipe and pumped the water uphill.The trick here was to get everything connected without falling in the stream.This was version 2 of the hookup – the first version migrated sideways and slipped out of the rubber one way valve, so we used a sledge to sink a few pieces of signpost into the stream to hold it in place.When the one way valve connection failed, I took the brunt of it. Thankfully, I was wearing my hiking boots, which are waterproof. My pants, however, were not.This is a zoomed out shot of the connection between the sump pump in the stream and the pipe going up the hill to the rink. We ended up weighing down the one way valve connection with a sledge so that the pressure would not cause it to slip vertically.Here is where the water pipe crested the hill and went across the yard. We got 100 feet of 1.5 inch poly pipe, and it was just a few feet shy of the rink, so we had to join it to a shorter run of flexible pipe at the end.The rink slopes slightly, so we used gravity to best advantage in our positioning of the water pipe.
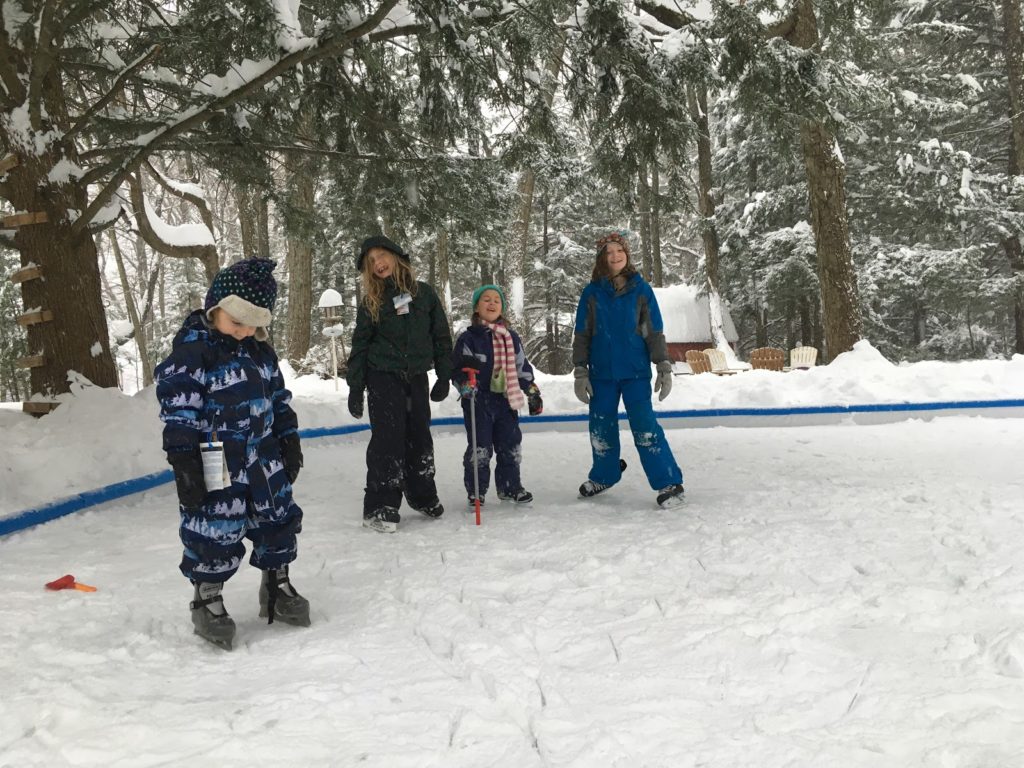
5. Skate!
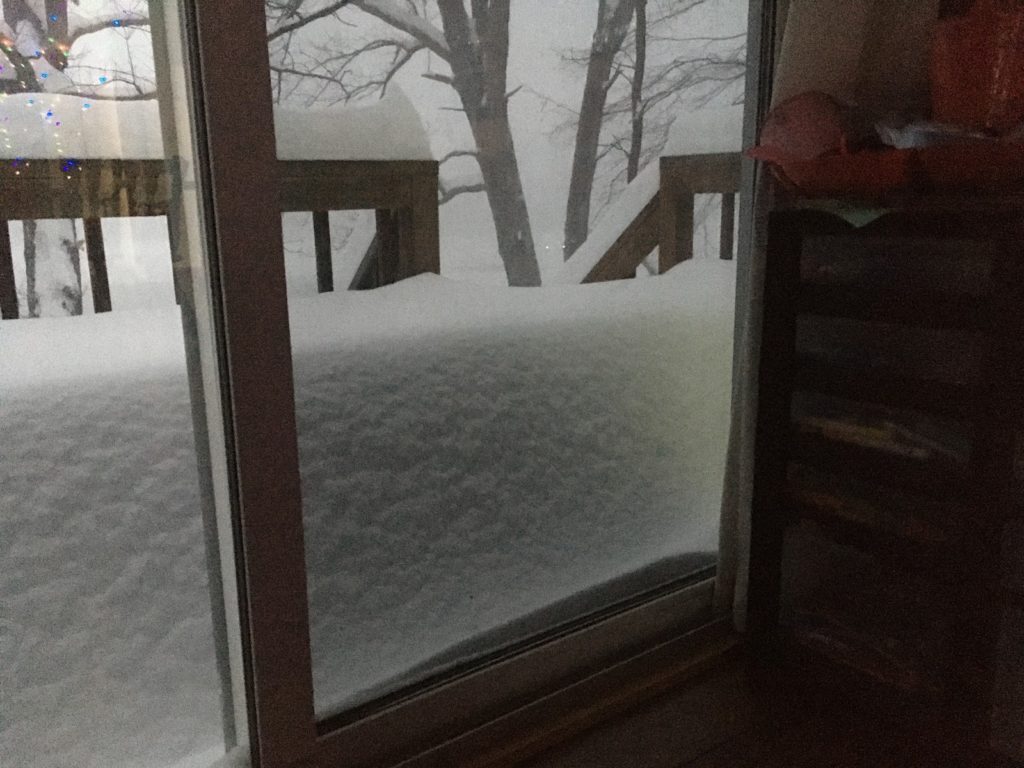
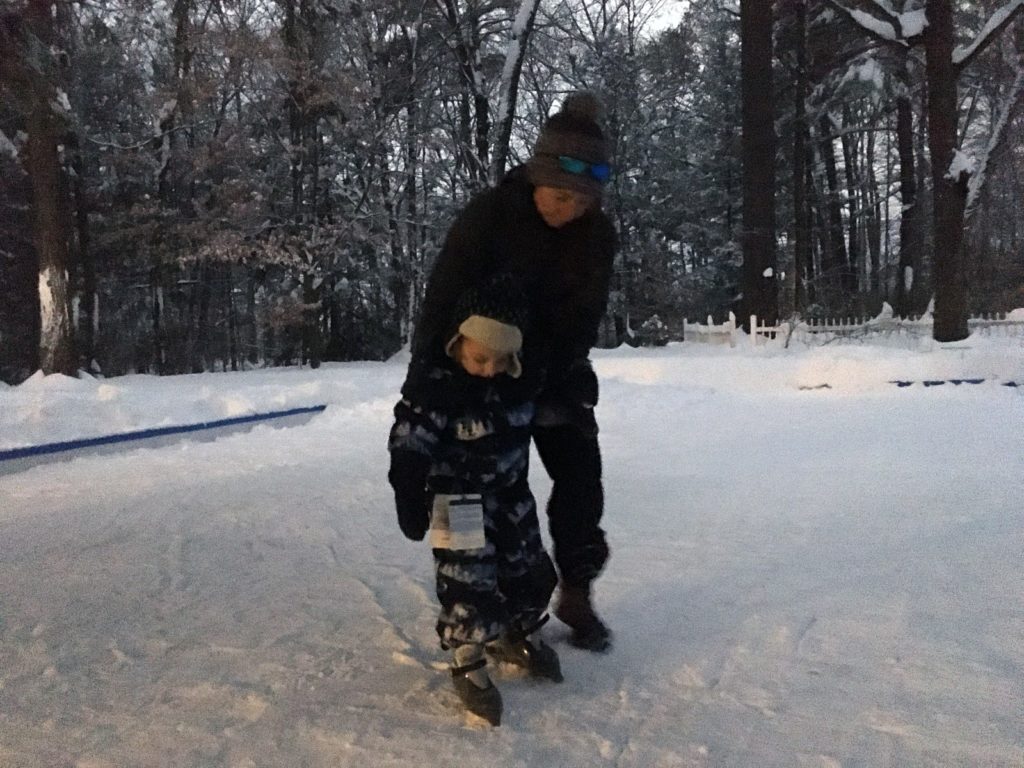
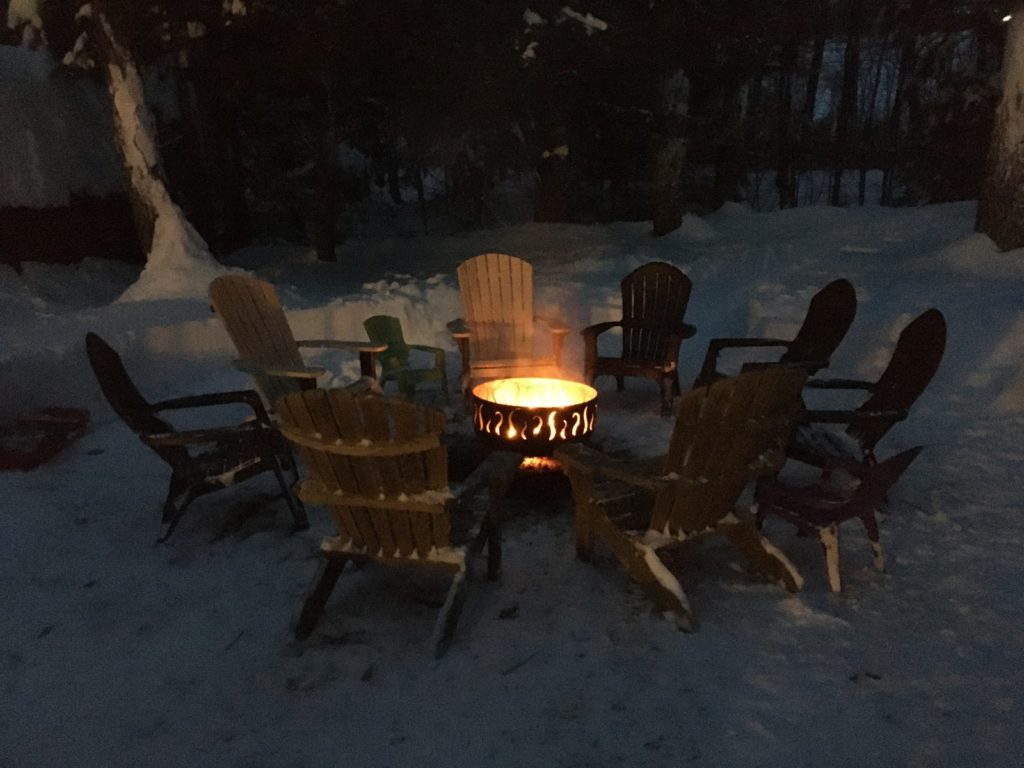
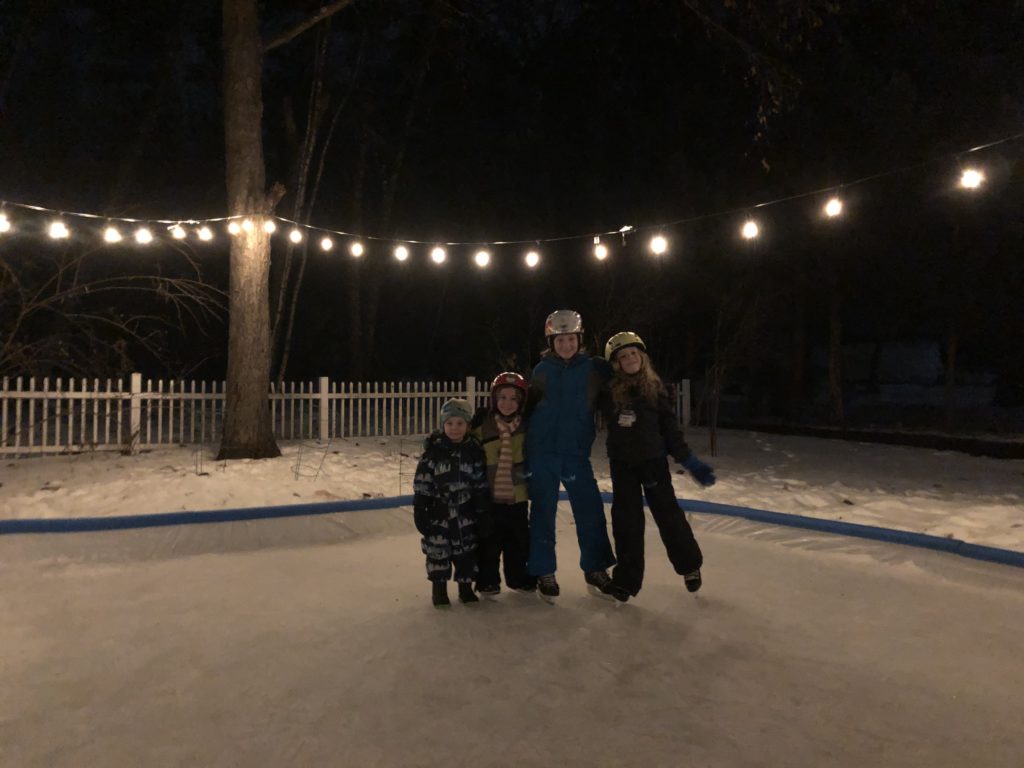
We got three feet of snow after filling the rink and letting it mostly freeze.It is hard to tell from this photo, but the rink is behind the tree and firewood pile in the foreground, buried under three feet of snow.The first skate. The kids have become significantly better skaters in the few weeks since we built it. In this photo, it is taking all of the concentration that Grayson possesses to not fall over.Skate lessons started on day one. Kelsey helped Grayson to not be afraid of moving his feet.We set up a fire pit for hot cocoa breaks.We installed some patio lights in early January so we can skate at night.
Stats
Rink size: 28′ x 44′ (1,232 ft²)
Filled to an average depth of 4″ = 410 ft³ of water
Hi! Jay has been enjoying your blogs with me and would like to receive them too. How does he go about getting on your list? Register via the browser view? Thanks!
Wishing you guys a happy and safe 2021!
Cathy Cotten


Leave a Reply
You must be logged in to post a comment.