The Recipe
Makes 6 Bagels, appx 2 hours
Ingredients:
- 1 1/2 cups warm water
- 2 tsp active dry yeast
- 1 1/2 Tbsp sugar
- 3 1/2 cups bread flour (plus more for kneading)
- 1 1/2 tsp salt
- Toppings (optional)
- Mix 1 1/2 cup warm water with 1 1/2 Tbsp sugar (stir to dissolve sugar), add 2 tsp yeast. Let proof.
- In mixing bowl, stir 3 1/2 cups flour with 1 1/2 tsp salt.
- Pour yeast mixture into flour mixture – mix until moist dough forms (I use my dough hook).
- Pour dough onto floured counter, knead for 10 mins (it feels like forever!) continuing to add flour as needed. Dough should be firm and stiff.
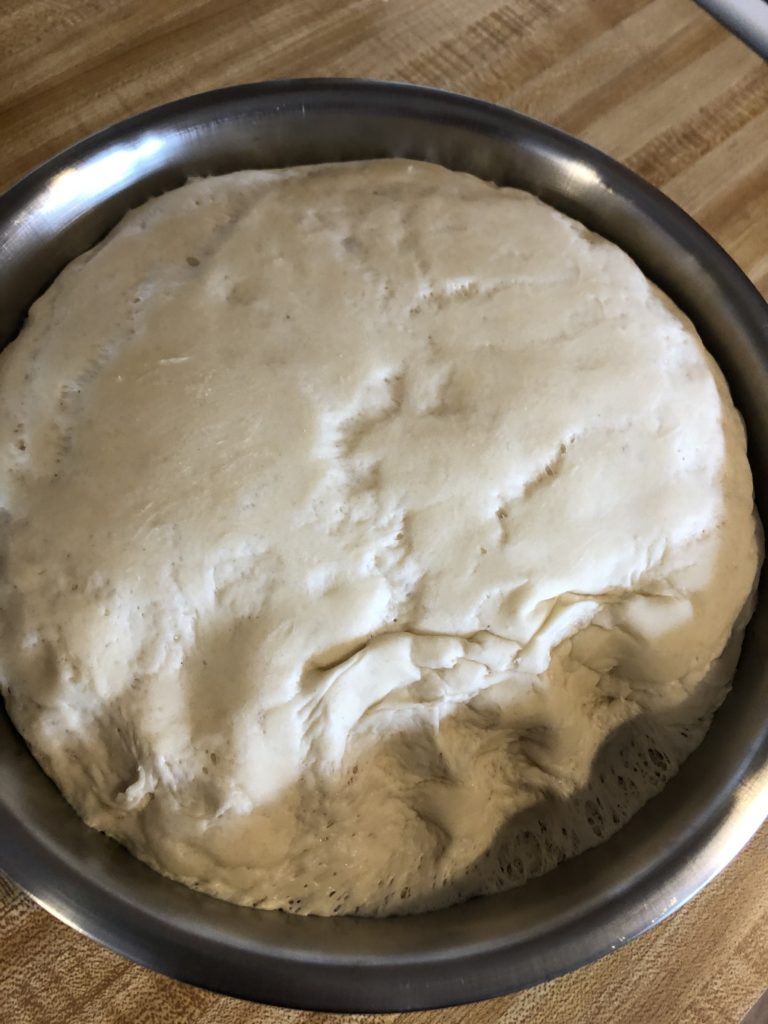
- Place dough in a metal bowl, cover and let rise 1 hour or until doubled (In winter, I turn my oven on to preheat for a few minutes, turn off and then put my bowl in the oven to proof ).
- Punch down dough, turn out onto NON-floured counter top and let rest 10 mins.
- Divide dough into 6 equal pieces. Shape into a ball on UNfloured countertop. – This is the hardest step to get right, you have cup the dough in your hand, rolling and tucking the edges under with your thumb and index finger.
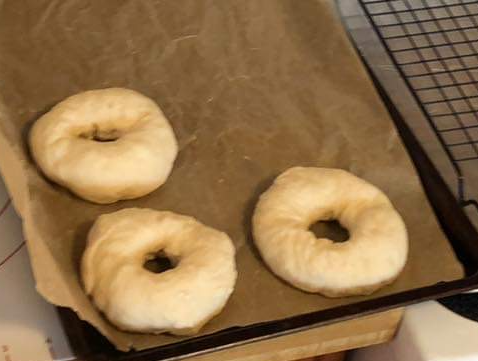
- Use your fingers to push a hole in the the dough ball and form and ring, stretch ring to desired size…plus a bit for rising.
- Let formed rings rest for 10 mins (I let them rest on a parchment lined baking sheet).
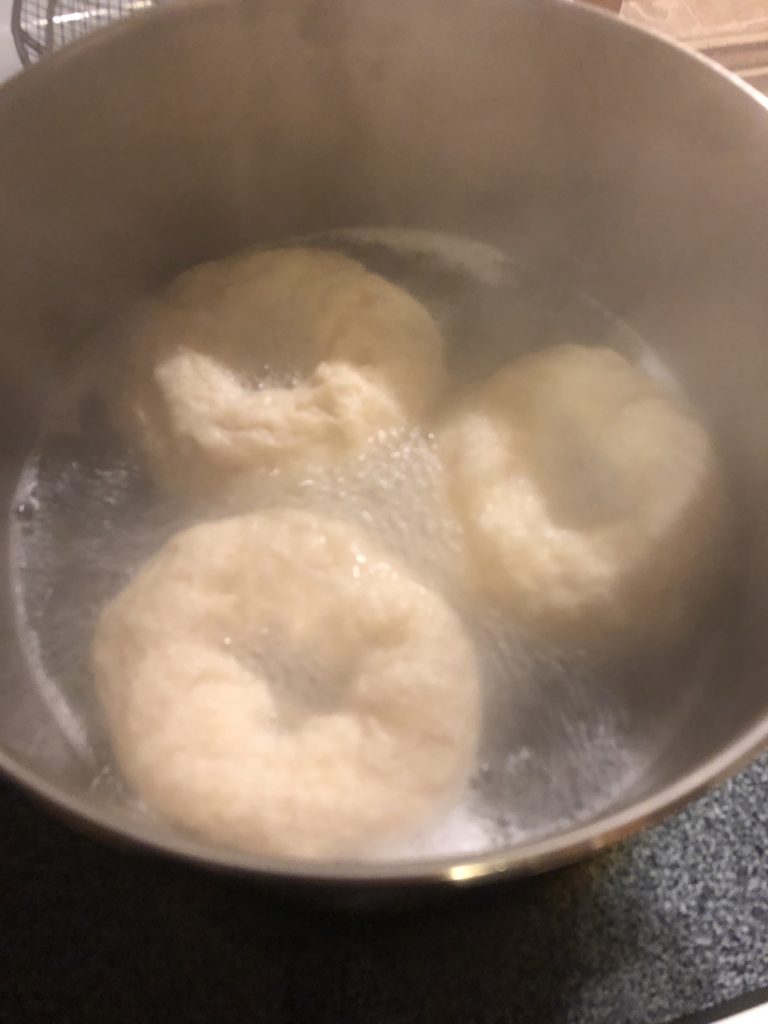
- While bagels are resting…. Pre-heat oven to 400*. And bring a large pot half full of water to a boil. Reduce heat to a simmer.
- Gently lower rings into the simmering water – once they float start timer for 2 mins, then flip and let simmer another 2 mins. (Note: bagels need to float freely- I do 2 rounds of 3 bagels each in my pot.)
- Remove from water with a slotted spoon to a cooling rack. While still damp, top bagels with desired toppings (sesame seeds, dried onion, everything seasoning, poppy seeds, your choice) and gently press into the top of moist dough.
- Transfer back to parchment lined baking sheet, bake for 20 minutes or until golden brown.
- Immediately transfer to a cooling rack.
- Technically you should let them cool slightly before cutting into them… but our house likes bread! And they never get cool before someone cuts into the first doughy ring of goodness.
The Story
It has been a bit since we’ve given you a recipe. Kevin shared our homemade ice cream recipe a few weeks back, and today I’m sharing my bagel recipe. Although Kevin and I share the cooking pretty equally—our recipe expertise doesn’t overlap. He cooks stir-fry, I bake bread. Years of hanging out in coffeeshops have made us bagel snobs. He loves a New York Style bagel, but giant chewy bagels make my jaw hurt. Clearly, the only solution to the problem was to start making bagels from scratch. So, a few months back, I started baking bagels. The recipe I started with made 8 bagels… they weren’t big enough to hold an egg very well for a breakfast sandwich, the kids would want 2 bagels… which left 2 kids without seconds. A few months and 50 pounds of flour later, I began dropping bagels at friends’ houses. The recipe was improving (enough to share with close friends) but appearances were still a little rough. My notes got more detailed and the bagels got much better. I now make 6 bakery size bagels, usually once a week. Then Kevin fries eggs for some fantastic brunch sammies.
The Process
The most important part of a good bread… the yeast! Yeast can be stored in the fridge or freezer—it doesn’t mind the cold, but can die if it gets too hot, so be sure to use warm water, not hot. After you proof your yeast and form your dough ball (or slug as the kids like to call it), you have to knead in more flour to make a nice stiff dough.
Then I let it sit in my warm (but not hot) oven for 30-60 mins to rise. After it has doubled in size, it needs punched down and turned onto a non-floured counter. I DO NOT oil my bowl, because I find that the oiled dough does not have enough tension to form a good ball. So when you turn the dough out, you have to pull it away from the edge as shown here.
Let it rest 10 minutes—early on I thought this was silly—it’s dough… I punched it, some of it will rest while I roll other parts into balls… no need to let it ALL rest for 10 minutes, right? Wrong! Let is rest. Just like my kids…this dough does better with a 10 minute rest.
Then roll it into balls. Sometimes I use a kitchen scale, sometimes I use my eyeballs. The balls should be the same size to help with even cooking and about 5-6 ounces each depending on how much flour you added during your kneading. A nice tight ball will look like a good dinner roll—tight elastic dough top and sides (don’t worry if the bottom is a little cracked looking—those cracks bake out on parchment paper). Use your finger to poke a hole through the middle of the dough ball and then carefully stretch the ring evenly—slightly larger than you think the hole “should” be—it will rise some in the oven and shrink the hole.
Again these dough rounds need to rest… get your water bath to a nice simmer and when their 10 minute rest is over, gently place a few in your pot for a quick dip—2 mins on each side.
Remove to a cooling rack—this step lets some of the moisture evaporate before going on the parchment and into the oven—preventing soggy bottoms. Top them quickly, while the surface is still moist, so your seeds and flavors don’t fall off when cutting later. Then gently transfer your bagels back to your parchment lined pan and slide into a 400* oven for 20 minutes. NOTE: Dark toppings will make your bagels brown quicker so poppy seeds and sesame seeds won’t brown evenly on the same pan.
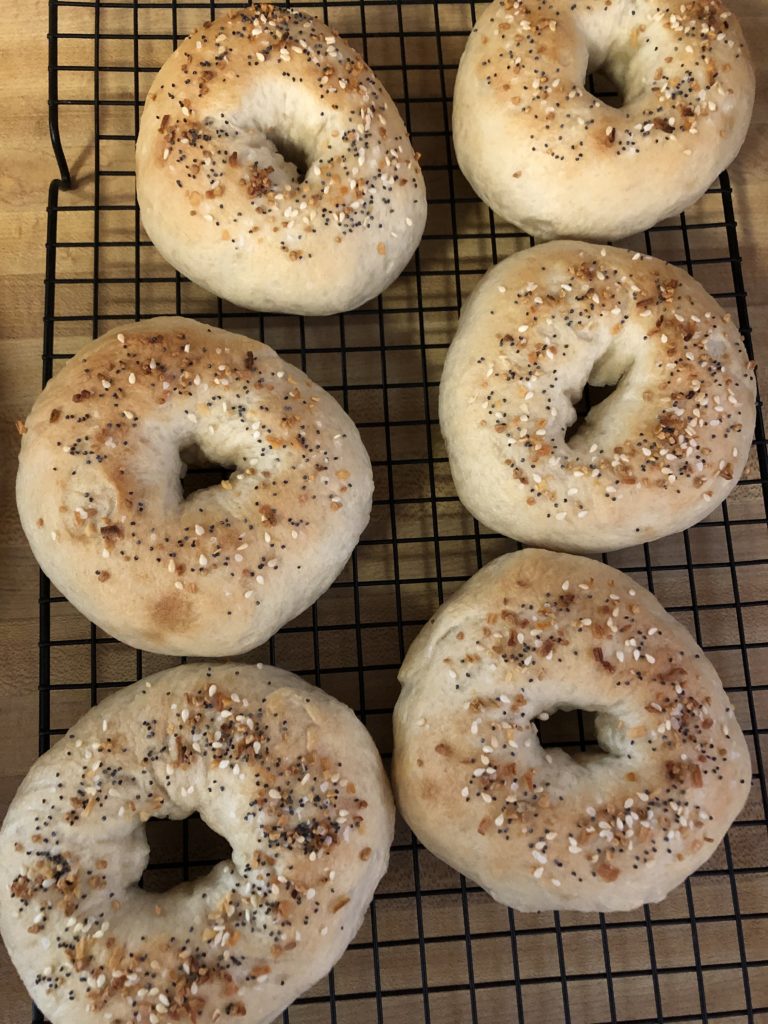
If you make these, let us know, but also… good luck waiting until they are cool to cut into them!
Leave a Reply
You must be logged in to post a comment.