The Recipe
This recipe is intended to be made with the Kitchen Aid stand mixer and the Kitchen Aid ice cream maker attachment, but it could be made in a conventional ice cream maker as well.
- 8 eggs
- 1 cup sugar
- 2 1/2 cups whole milk
- 2 1/2 cups heavy cream
- 4 teaspoons vanilla
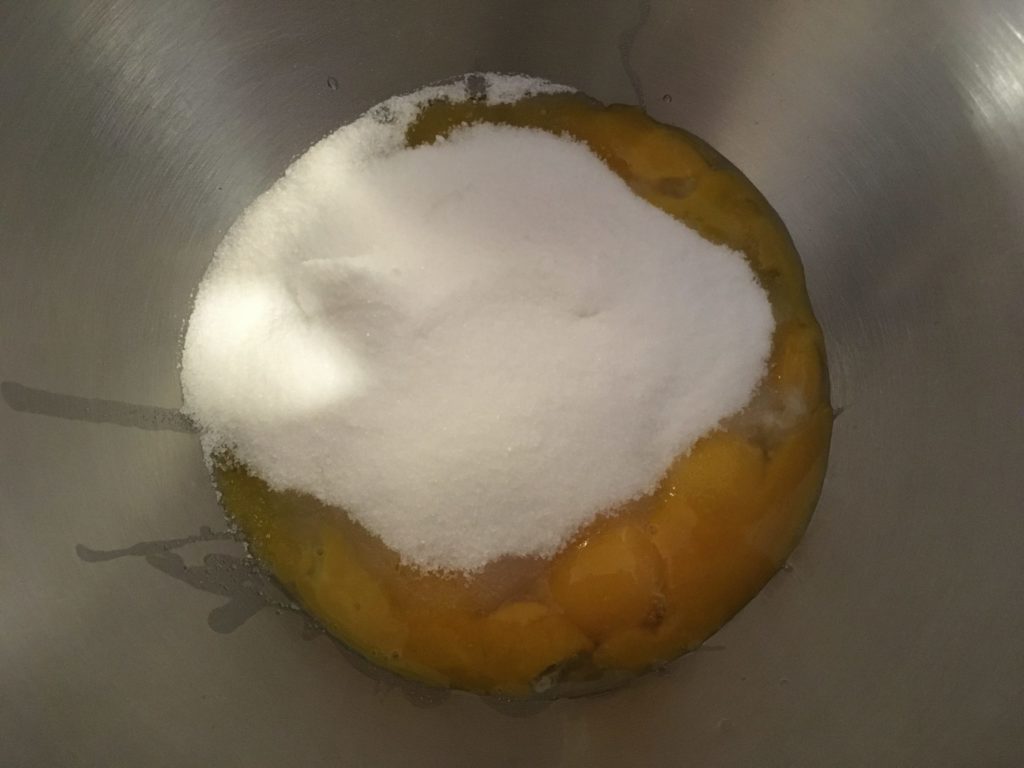
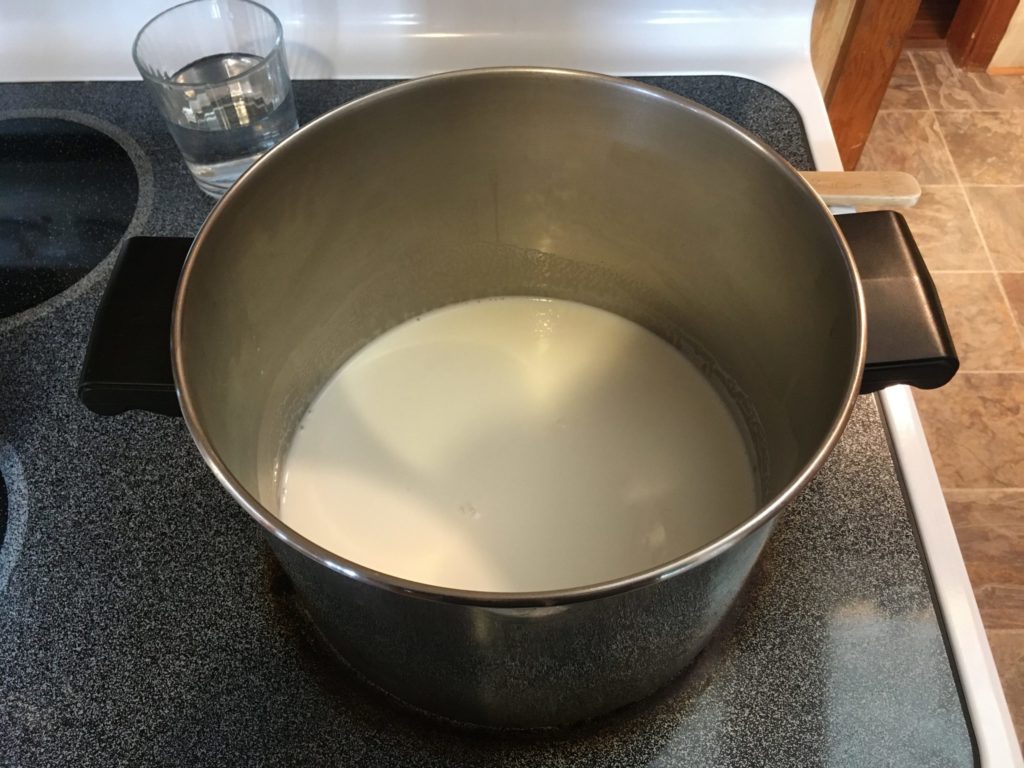
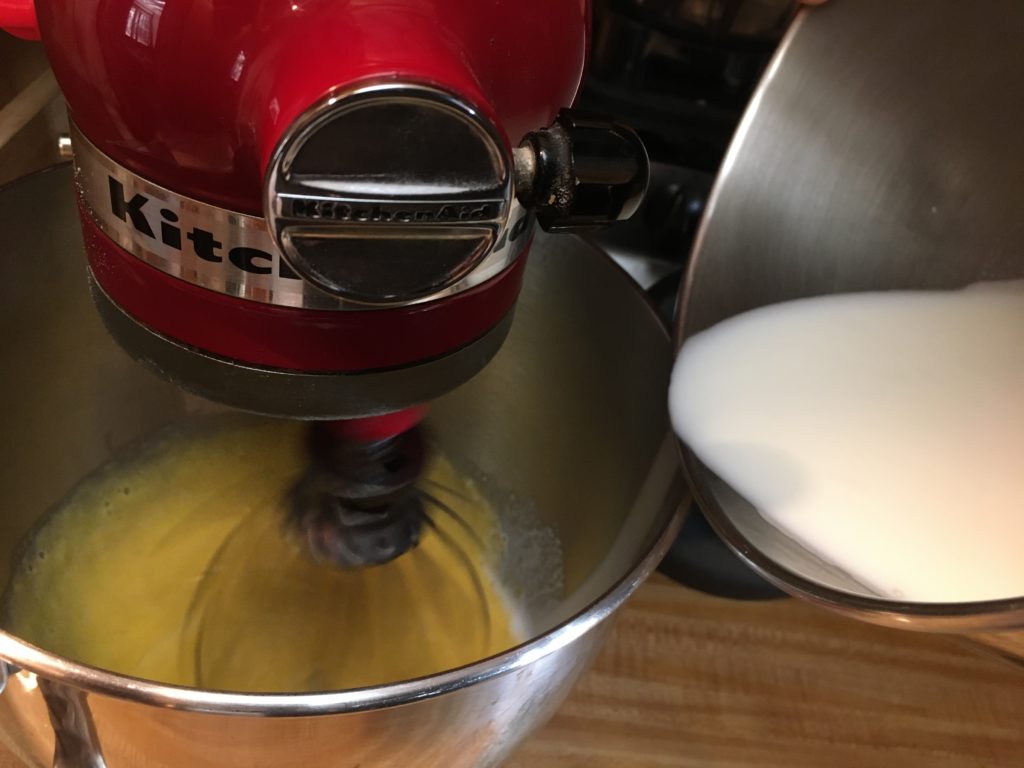
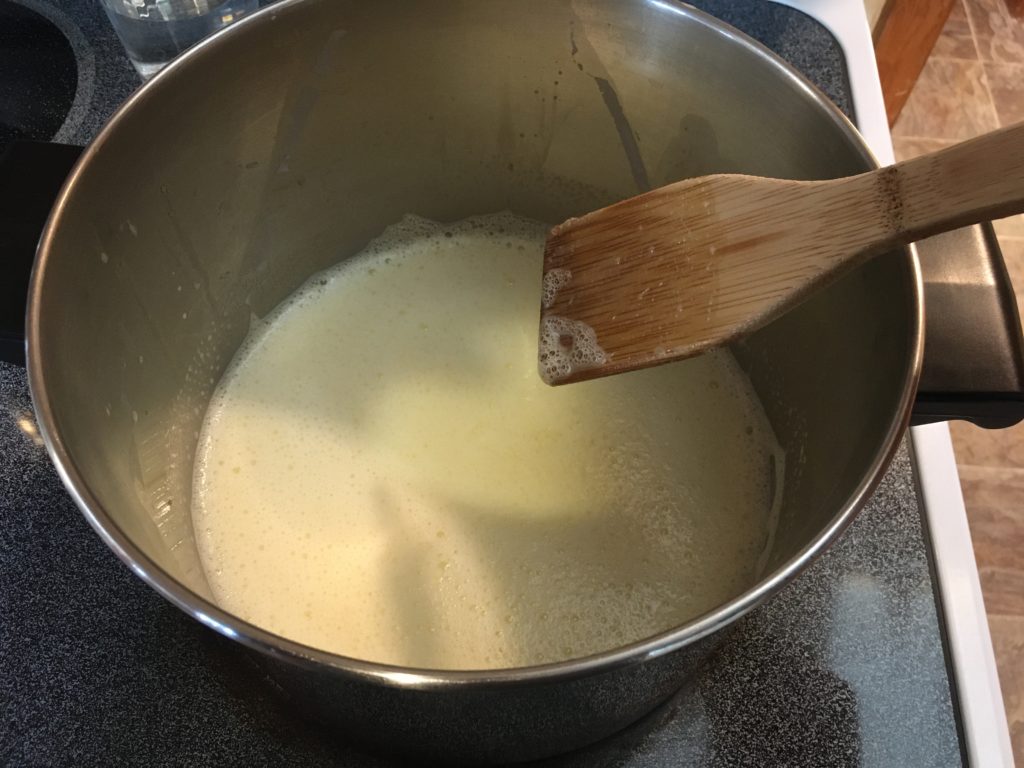
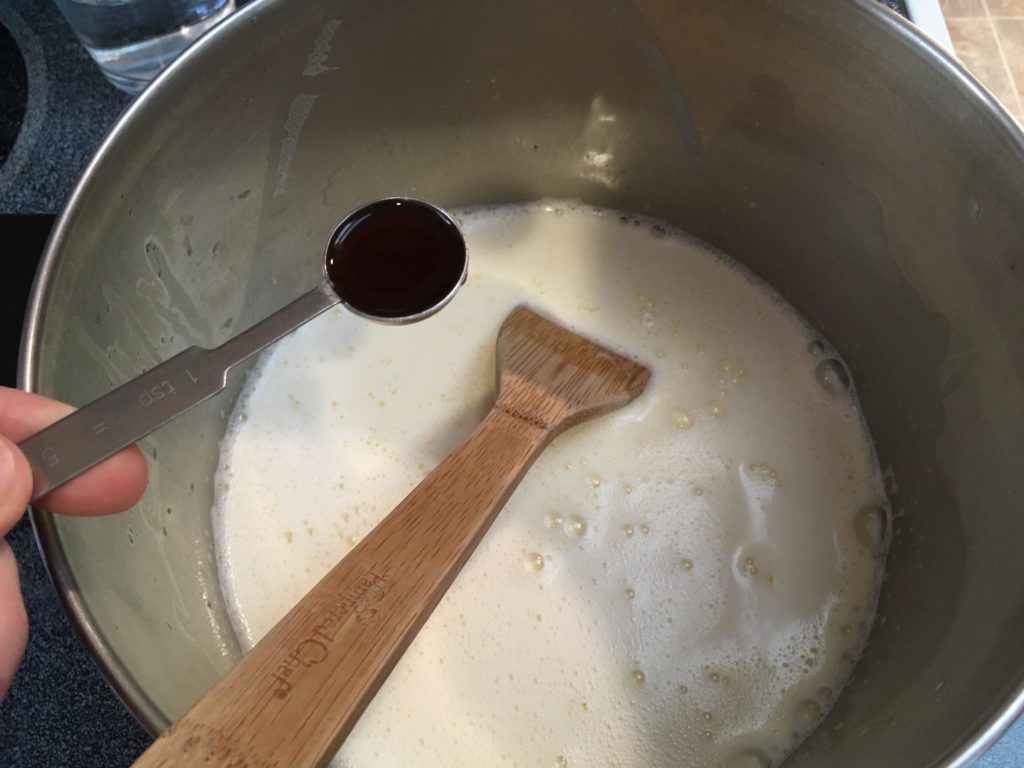
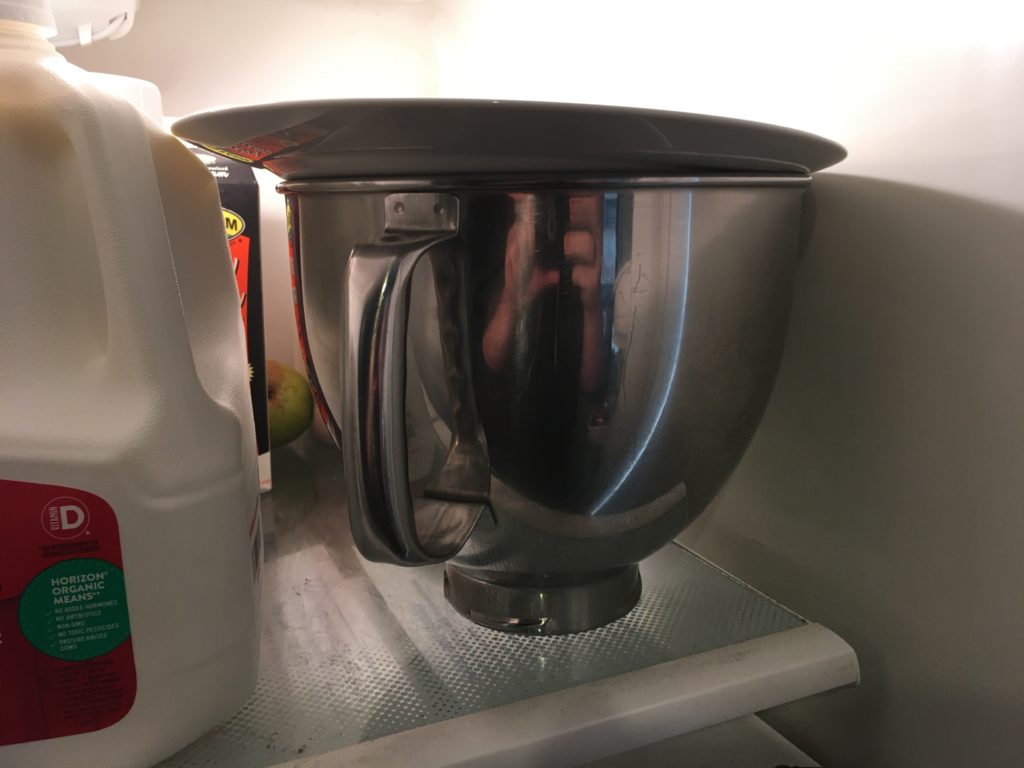
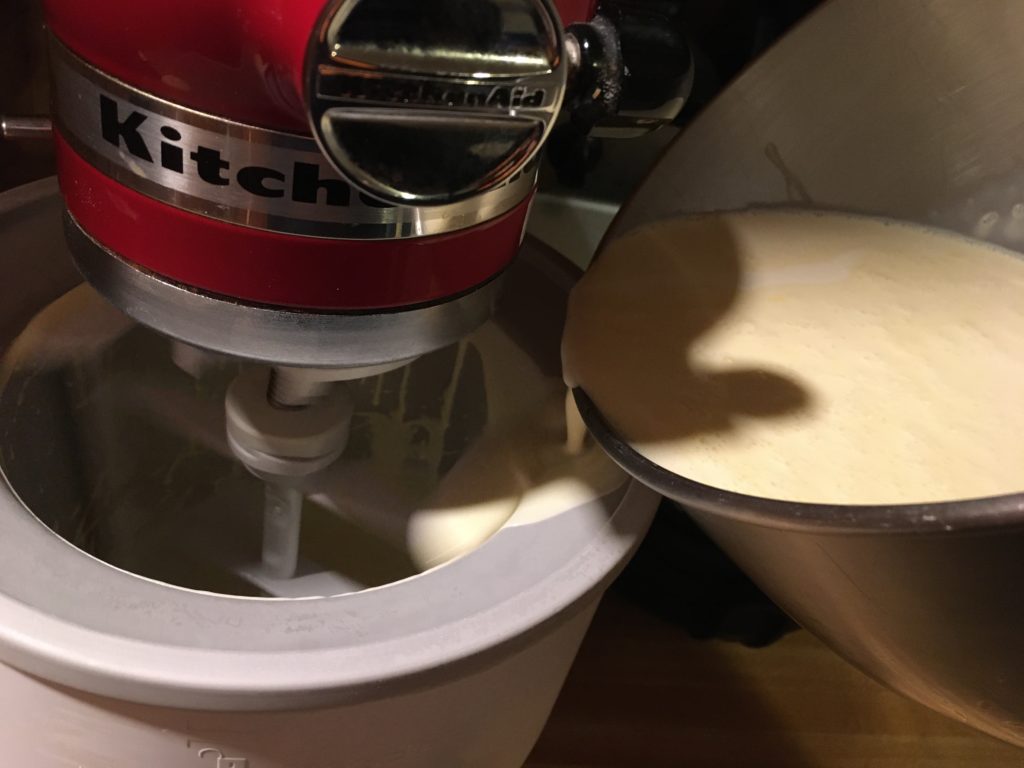
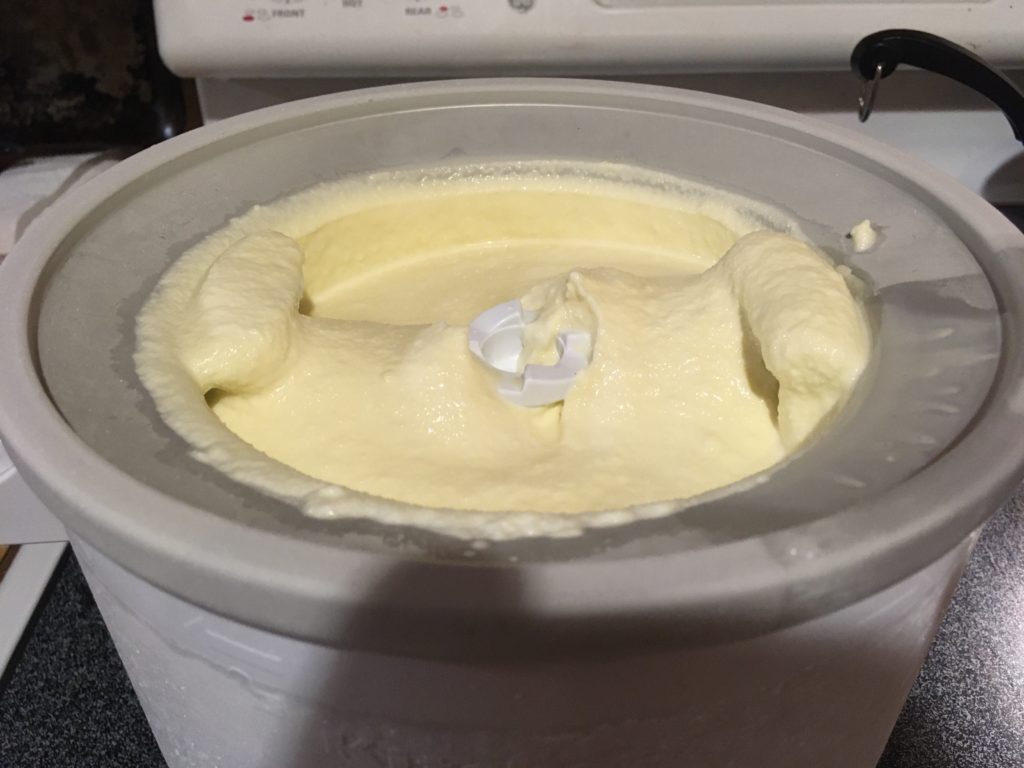
Separate the egg yolks from the whites. Add the egg yolks to your mixer bowl. Reserve the whites for use in another recipe, such as scrambled eggs, omelettes, waffles, or pancakes. Add the sugar to the mixer bowl. Mix on speed 2 with the whisk attachment until just combined. Heat the whole milk over medium heat until steamy but not boiling. Slowly add the hot milk to the egg yolk and sugar mixture while mixing on speed 2. Return the egg/sugar/milk mixture to the stove and heat until steamy but not boiling, stirring constantly. Add the heavy cream and vanilla. Stir to combine. Return to mixer bowl and chill, covered, for 8 hours. Remove ice cream maker attachment from freezer (ensure frozen for at least 15 hours before using) and attach to stand mixer. Add dasher and set speed on its lowest setting. Slowly pour liquid ice cream into the ice cream maker and churn for 20 minutes. Pour into container and freeze for 4-5 hours to set. Yields approximately 1/2 gallon.
The Story
We’re doing something new this week—adding recipes to the blog. Since this blog is just for fun and isn’t monetized, we won’t make you scroll past the story (and a bunch of ads!) to get to the recipe—we’ll put it right up top where it’s easy to reference. Also, our recipes will be categorized as recipes, so you can easily access them from the website navigation menus.
Generally, we’ve been trying to make more food at home from scratch to avoid buying processed foods with a bunch of extra ingredients. We’ve been making our own bread and yogurt for a while now, and we’ve expanded what we’re making to include ice cream. I like to experiment in the kitchen, and ice cream is ripe for experimentation, especially considering that even failures tend to still be edible.
I had made ice cream before, in a conventional ice cream freezer that was powered by an electric motor and used ice and rock salt as the chilling agent. However, it was always a hassle to set up the ice cream freezer: we needed to make sure that we had enough ice and rock salt on hand, it leaked salty water while it was churning so we had to be careful where we put it, it needed to be done outside, etc. Therefore, we only ended up making homemade ice cream a few times per year, and always in the summer. This year, the electric motor on our ice cream freezer finally quit, so I decided it was time for something new.
Kitchen Aid makes an ice cream maker attachment for their stand mixer. We use our Kitchen Aid stand mixer a lot—it has a permanent place on one of our countertops. We use the food mill attachment to make applesauce and pasta sauce, and the various pasta making attachments to make homemade pasta. The ice cream maker attachment’s utility is further enhanced by the fact that you place it in the freezer to chill it before you churn your ice cream, and it does not require ice or rock salt—just 15 hours in the freezer to get down to temp before you churn. I have already made more ice cream in the two months that we’ve owned it than in the ten years prior when we were using a conventional ice cream freezer. It doesn’t freeze the ice cream as hard as a conventional freezer, so you do need to make sure you freeze it in a separate container for 4-5 hours after churning, but that’s a small price to pay for its convenience.
The recipe above is for a basic French vanilla. I have made several other varieties using this recipe, minus the vanilla, as the base, and adding different ingredients. For example, if you layer the French vanilla recipe with peanut butter, you get peanut butter ripple. If you reduce the vanilla to 2 tsp and add 1/2 cup of cocoa powder with the sugar, you get chocolate. If you use a mix of 1.5 cups whole milk and 1 cup heavy cream instead of 2.5 cups of whole milk, and you add 1 cup of pumpkin to the egg and sugar mixture, and you mix in 4 teaspoons cinnamon, 1 teaspoon nutmeg, 1 teaspoon cloves, 1 teaspoon ginger, and 1 teaspoon allspice with the sugar, you get the best pumpkin ice cream I’ve ever had. Some peppermint extract and a dark chocolate bar yields mint chocolate chip. If I can dig some walnuts out of our cupboards, I’m going to try to make Chunky Monkey (my favorite Ben & Jerry’s flavor) this week, which combines walnuts and dark chocolate pieces in a banana base.
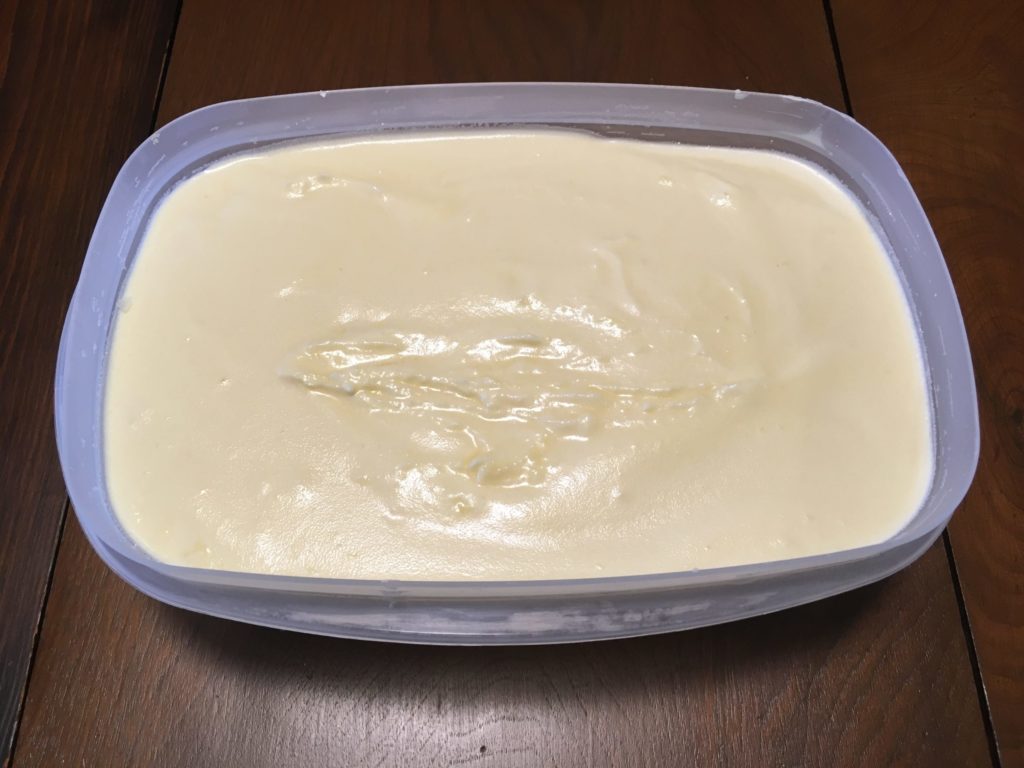
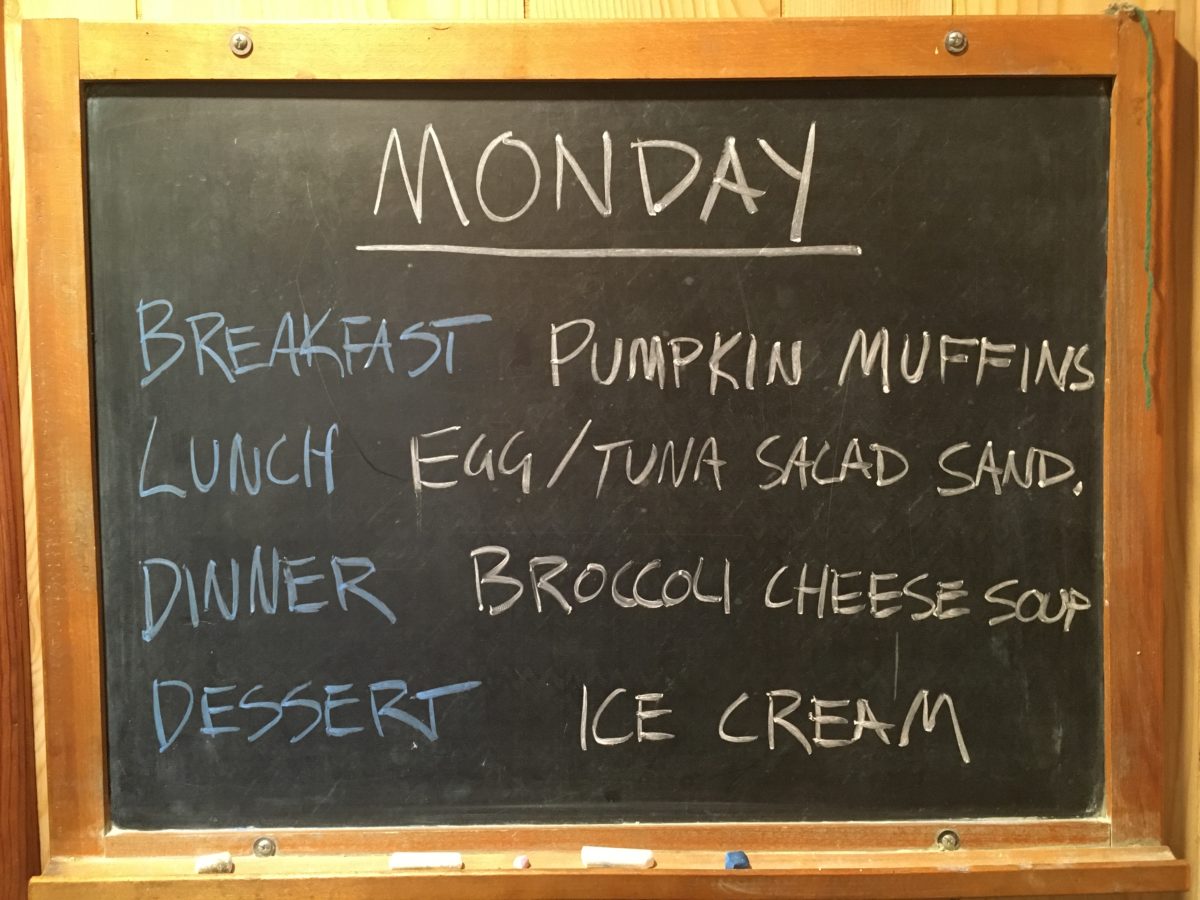
See the photos below for a breakdown of the process. It’s not a lot of hands-on time—mostly, you need to make sure you freeze the attachment 15 hours in advance, leave the liquid mix in the fridge for 8 hours, and freeze the churned ice cream for 4-5 hours before eating.
This past week, we upgraded our chest freezer to a 24 cubic foot model and I installed a standing desk treadmill in my office so I can walk while I work. These things may be related to my newfound passion for making homemade ice cream. Maybe.
The Process

Leave a Reply
You must be logged in to post a comment.